

NetBeans is an Integrated Development Environment (IDE). Here we will see how to install it and how to create a simple Java application.
Introduction
NetBeans is an IDE that has many advantages over programming with a simple text editor. Other famous IDEs are Eclipse, Spring Tools Suite, and IntelliJ. There are two versions of the IDE: those prior to 8.0 (by Oracle) and from 9.0 onwards (by the Apache Foundation).
Installation
Note: A JDK (Java Development Kit) is required. If we don’t have it, we can access the page https://www.oracle.com/java/technologies/downloads/ and download the JDK 8 for Windows, navigating to the Java SE Development Kit 8u311 section, clicking on the Windows tab and doing click on the 64-bit installer, jdk-8u311-windows-x64.exe.
We open the page https://netbeans.apache.org/.
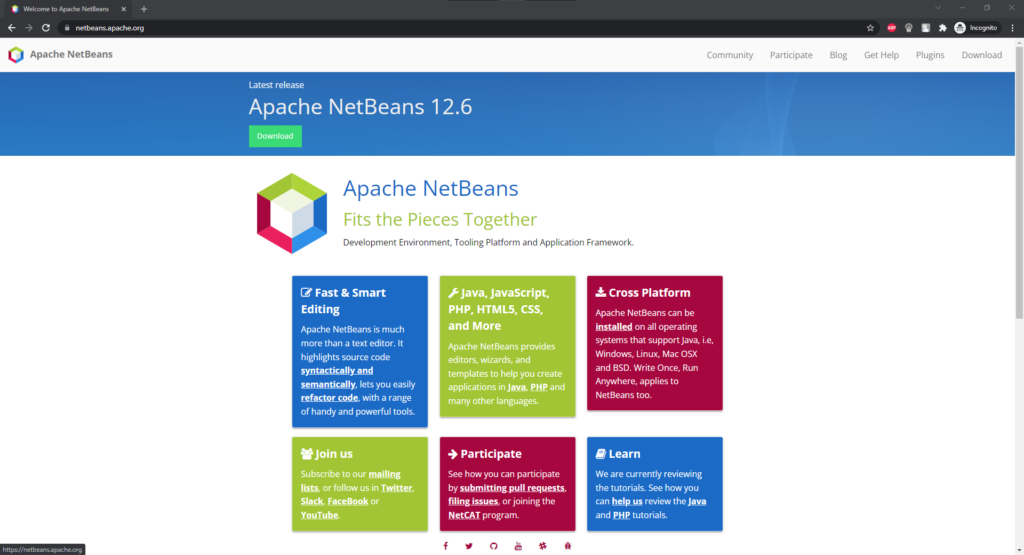
Click on Download in the upper menu.
Under Apache NetBeans 12.6 we click the Download button.
Here they offer us the possibility to choose the operating system.
Click on Apache-NetBeans-12.6-bin-windows-x64.exe.
It offers us to download the file from an exact location (but we can choose the one we want).
Click on:
That file will be downloaded to our Downloads folder.
On our hard drive, we open the installer.
We leave everything by default to finish the installation (it takes about 2 minutes).
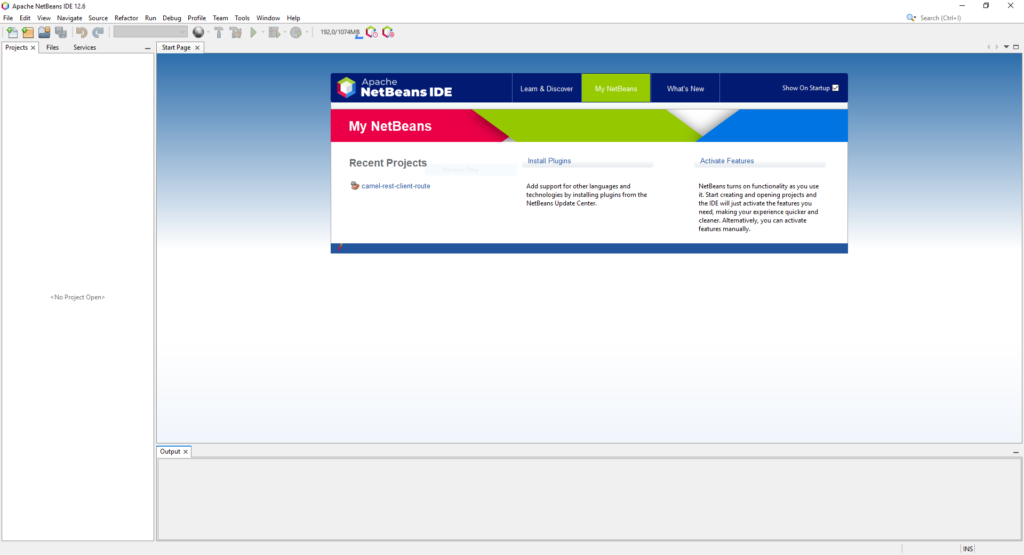
We start NetBeans (it will take about a minute).
And if we see the initial screen, we will have the IDE installed and ready to use.
Creating a simple Java project
In the most modern versions of NetBeans it is somewhat difficult to create a simple Java project, since apparently we do not have that possibility. A Java project with Maven contains some complexity that we don’t need for this demo.
Click on File / New Project… / Java with Ant / Java Application / Next >.
Leave all the default values and click on Finish.
This creates a simple project for us with a Java class with a main method Main (which is always the entry point of all Java applications).
We edit the method and leave it like this:
public static void main (String [] args) {
    System.out.println ("Hello World!");
}
We right click on the name of the project and click on Run.
In the Console we will see that our program is executed and that the following text is displayed:
run:
Hello World!
BUILD SUCCESSFUL (total time: 0 seconds)
Importing a Maven project
Click on File / Open Project…
And we select the path where the project is located.
Click on Open Project (it will take about a minute).
And we will have our Maven project imported and ready to run.